When diving into beef butchery, it's all about getting a grip on the different cuts of beef. Each cut has its own flavor, tenderness, and best cooking methods. Understanding these differences can really elevate your cooking game and help you choose the right cut for your meal.
Starting with the classics, you have tenderloin. This cut is super tender and ideal for quick cooking methods like grilling or broiling. If you want something fancy for a special occasion, tenderloin is your go-to. Moving on, there's ribeye. It boasts a rich flavor thanks to its marbling, making it perfect for those juicy steaks. Grill it up for a barbecue or throw it in a cast-iron skillet for a delicious dinner.
Then, we've got brisket, a favorite for slow cooking. This cut is tougher, but when cooked low and slow, it becomes incredibly tender and flavorful. Perfect for smoked brisket sandwiches or a hearty stew. And don’t forget about chuck roast. It's packed with flavor and is great for pot roasts or shredding for tacos.
The key to mastering beef butchery lies in knowing how to prepare and enjoy each cut. Whether you’re searing a steak or braising a roast, understanding these cuts helps you make the most of your beef. Choose wisely based on how you want to cook, and you’ll be set for a tasty meal every time.
Tools Every Home Butcher Needs
Getting into beef butchery? You’ll need a few basic tools to make the process easier and safer. Investing in quality gear goes a long way in helping you tackle everything from preparing cuts to packing your meat for storage.
First up, a sharp knife is a must-have. A good butcher knife makes it easier to slice through meat and fat. Look for one that's comfortable in your hand and holds its edge well. A boning knife is also super useful when you need to get around bones for specific cuts. Don’t forget to grab a cutting board too! Go for a sturdy one that can withstand a little wear and tear.
You'll also want a sturdy meat grinder. If you plan to make your own ground beef, this is essential. A grinder helps you control the grind size and ensures you're using quality meat. Coupled with a sausage stuffer, you can take your beef butchery to the next level by making your own sausages.
Lastly, a set of good storage bags or vacuum-sealing bags will keep your meat fresh. You’ve put in the hard work, so make sure it doesn't go to waste. Labeling your bags with the date and type of cut makes it easy to keep track of everything in your freezer.
These basic tools will set you up for success in your beef butchery journey. You’ll feel like a pro in no time, creating delicious cuts right at home!

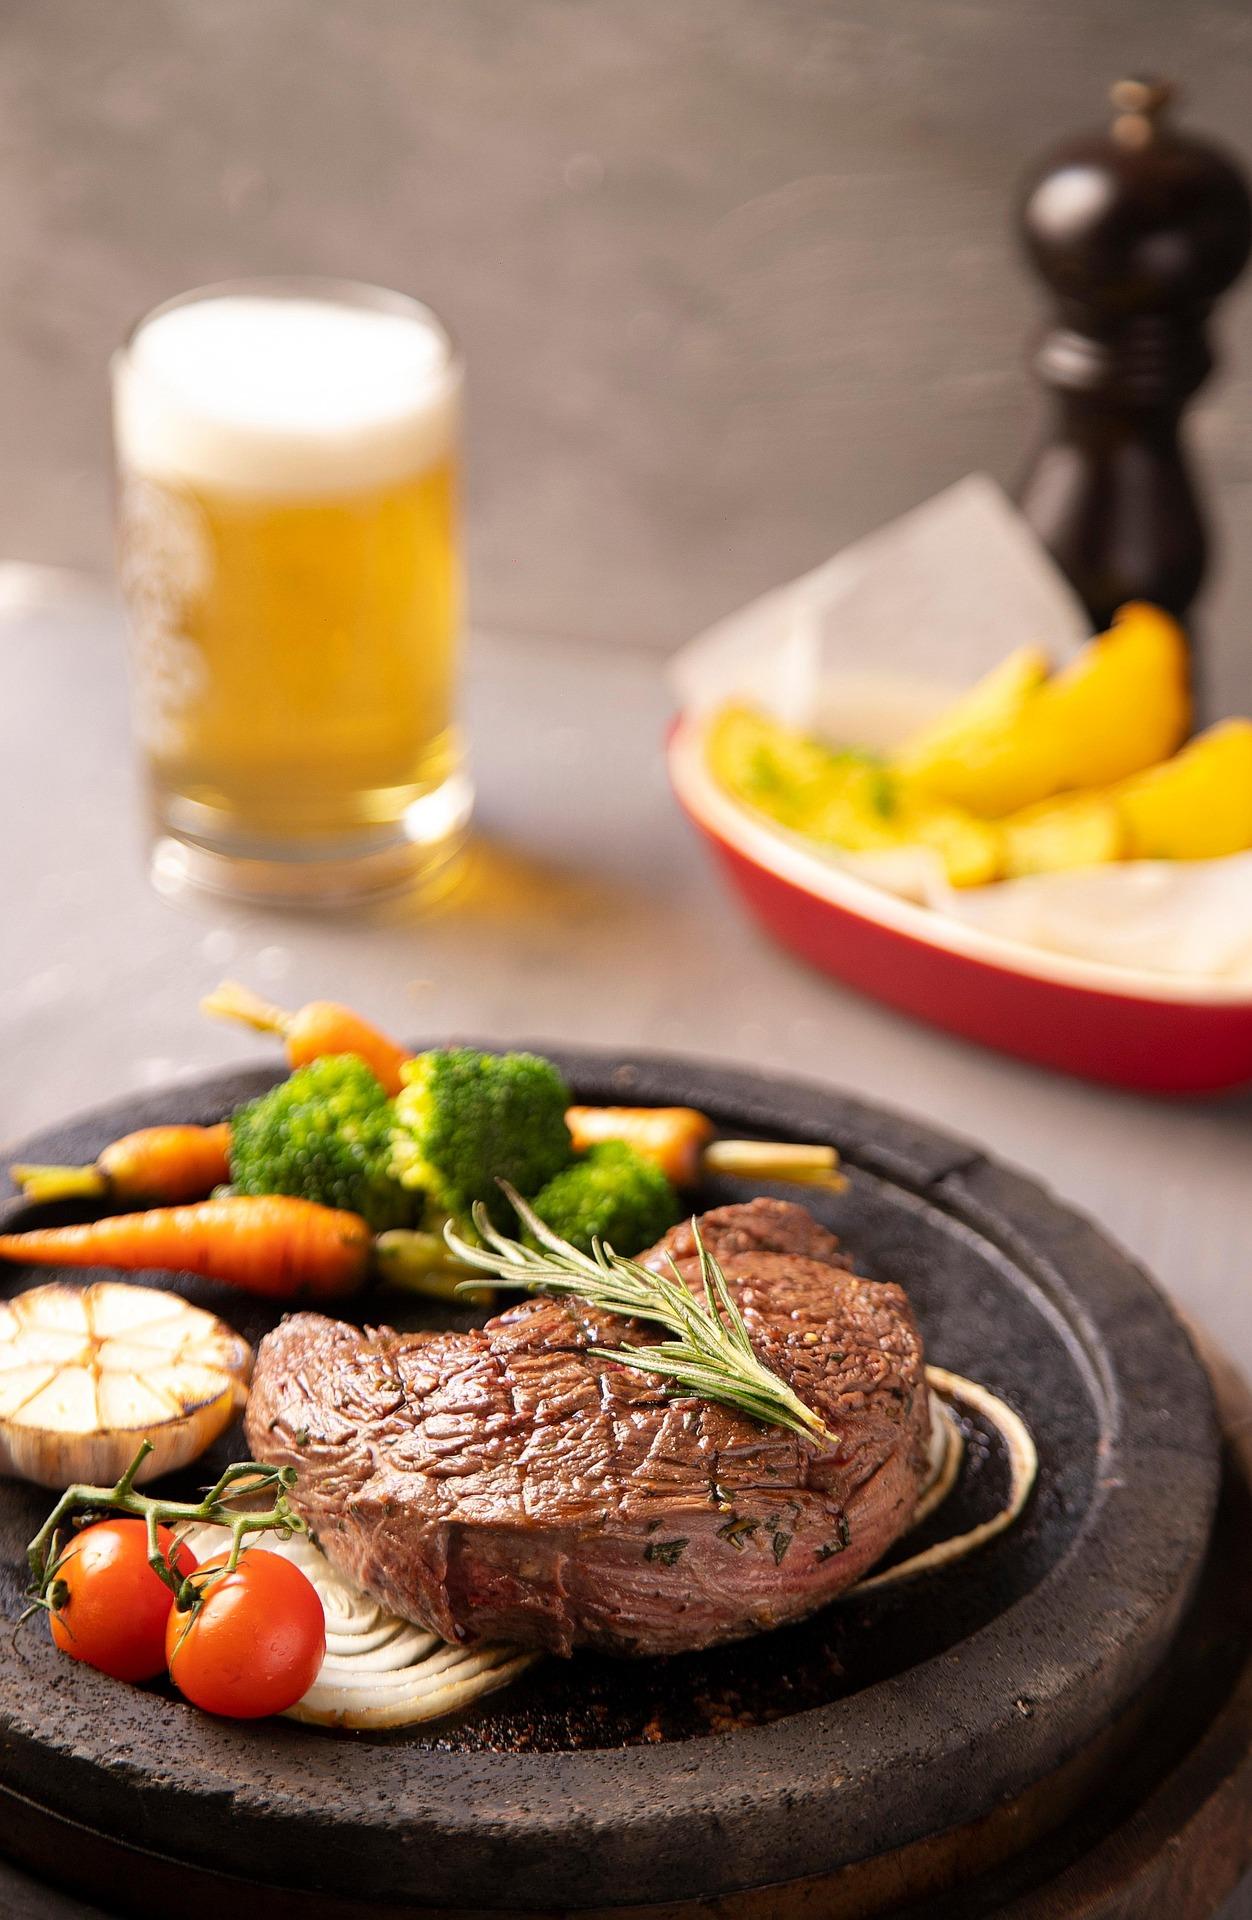
Black Angus T-Bone Steak, 12 oz (4-Pack)
Juicy, tender, and bursting with flavor, perfect for your next grill night
Product information
Product Review Score
4.61 out of 5 stars
171 reviewsProduct links
Basic Butchering Techniques for Beginners
Learning basic butchering techniques can seem daunting, but once you dive in, you'll realize it’s not as complicated as it appears. If you’re interested in beef butchery, starting with a few simple skills will boost your confidence. Plus, you’ll have fresher meat at home that you can customize to your liking.
First off, get yourself a sharp knife. A good butcher's knife is a must—it makes cutting through muscle and fat much easier. Make sure you also have a sturdy cutting board. When starting out, keep it simple. Focus on breaking down basic cuts like chuck, rib, and loin, which are all pretty straightforward and rewarding.
When you're ready to begin, start with the chuck. This part has tougher muscles, so it's perfect for learning how to cut against the grain. Look for the lines in the meat and cut perpendicular to them for a tender result. The rib section is next, known for its rich flavor. Try to separate the ribeye from the bones here; it’s easier than it sounds, and you'll be thrilled with the delicious steaks you can make.
Next up is the loin, which contains cuts like sirloin and tenderloin. The tenderloin is a prized cut that’s super tender, so you'll want to be gentle when working with it. Remember to trim off any excess fat as you go, and don't be afraid to get your hands a little messy. It’s all part of the fun of beef butchery!
Practice is key. Start slow, take your time, and double-check your cuts. Watch some videos for visual cues, and remember, it’s okay to make mistakes. Each attempt will get you closer to mastering those essential butchering techniques. In no time, you'll feel comfortable cutting your own beef, and who knows? You might even impress your friends at the next barbecue!
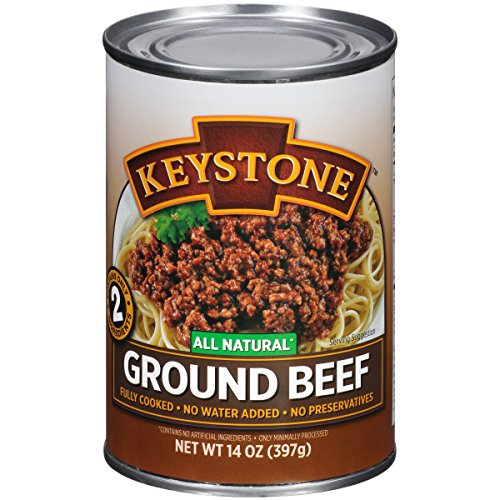
All Natural Ground Beef by Keystone Meats, 28 Oz
Ground beef made from 100% grass-fed cattle with no additives or preservatives for pure flavor
Product information
$12.99 $9.22
Product Review Score
4.39 out of 5 stars
24 reviewsProduct links
Storing and Aging Beef Like a Pro
Storing and aging beef properly is one of the secrets to incredible flavors and textures when it comes to beef butchery. The right storage conditions can make a huge difference in how your meat tastes. Always start with fresh, high-quality beef. Choose cuts that look vibrant, with a good amount of marbling. This marbling is that lovely fat mixed in with the meat, which brings juiciness and flavor.
Once you've got your beef, keep it in the fridge until you’re ready to use it. Make sure the temperature stays around 34 to 40 degrees Fahrenheit. If you’re planning to age your beef, here's where the fun begins. Dry aging can take your meat to a whole new level. Wrap it loosely in cheesecloth or butcher paper and place it in a dedicated fridge. Allow it to sit there for at least 21 days. This process helps concentrated flavors develop while drawing out moisture.
For wet aging, simply seal the beef in its own packaging and pop it in the fridge for 7 to 21 days. This method keeps the meat in its juices, which tenderizes the beef but doesn't create the same complex flavors as dry aging. If you're short on time but still want awesome results, wet aging can work wonders.
Don’t forget about freezing. If you’re not going to use the beef right away, wrap it tightly in freezer paper or vacuum seal it to avoid freezer burn. It’s a great way to keep your beef fresh for months! Just remember that freezing can change the texture a bit, so if you're looking for that melt-in-your-mouth experience, go with fresh or aged options whenever possible.